Your In-Home Session Guide
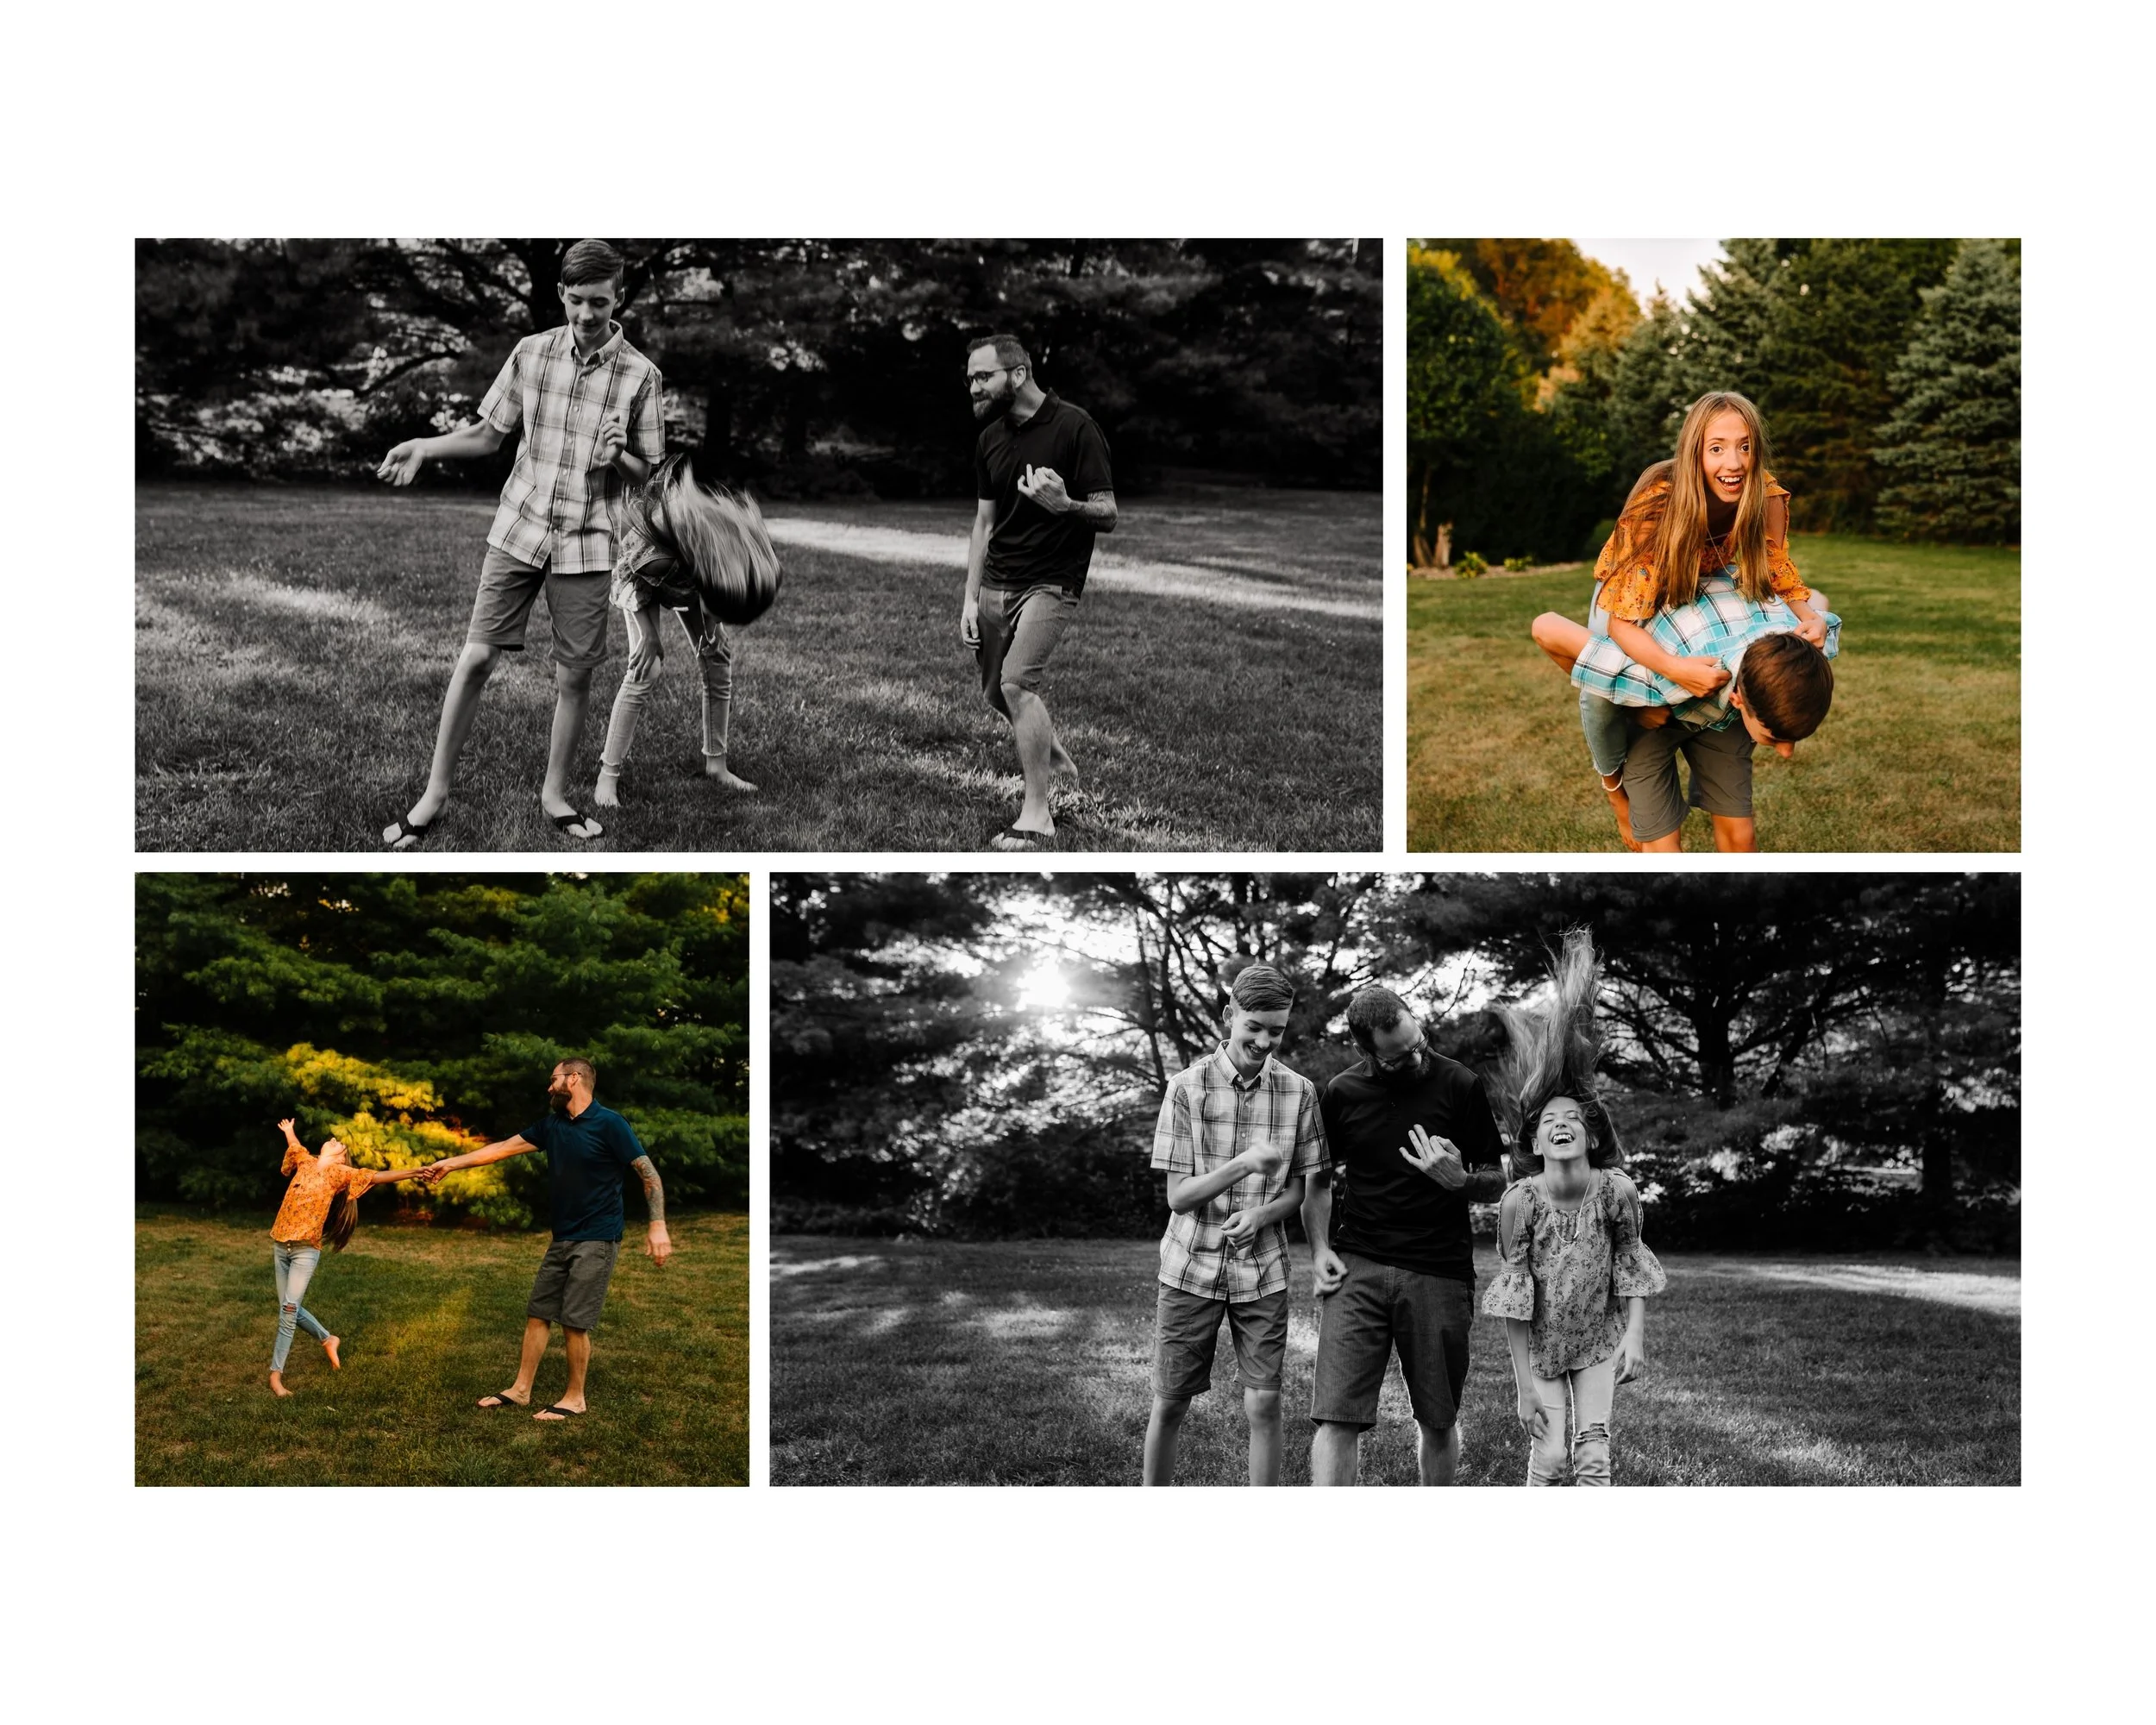
There is something sacred about photographing you where your life actually unfolds.
The hallway your dog sprints down every morning.
The couch where your toddler insists on one more book.
The kitchen where you lean into each other after a long day.
This is the space that already holds your story.
In-home sessions aren’t about perfection. They’re about presence. My role is to guide you through this in a way that feels effortless, elevated, and undeniably you – while making sure we’re set up for beautiful, natural light and an experience that feels calm from start to finish.
Let’s walk through how to prepare & everything to expect!
Decluttering vs. Keeping What Matters
This is the most common question I get: “Should I clean everything?”
The honest answer? Nope!
We’re not aiming for a model home that’s pristine from floor to ceiling and I’m never expecting that from clients. We’re aiming for an intentional space.
Think of it as visual breathing room.
✧ Clear surfaces that may distract (nightstands, kitchen counters, side tables).
✧ Tidy floors and remove items that don’t belong in the room.
✧ Simplify, don’t sterilize.
And then, always keep the meaningful things.
The framed photo from your wedding.
The stack of well-loved books.
Your dog’s favorite spot in the living room.
The blanket that was passed down.
If something feels like you, it belongs. If it pulls focus from connection, it can take a short vacation to another room for an hour or so.
I’ll gently guide this on arrival too, you won’t be left guessing.
Choosing the Best Rooms (Light > Size)
The biggest factor in beautiful in-home imagery is light.
Bigger rooms don’t always mean better photos, brighter rooms do.
Before your session, take a few moments to notice:
✧ Which rooms have large windows?
✧ Where does the light feel soft and even?
✧ What rooms feel calm and uncluttered?
Big north or east-facing windows are often winners for morning sessions; sliding doors can be, too. South and west-facing windows often give us that dreamy glow later in the day. Sheer curtains, for example, wouldn’t block any of our light. Heavy blackout curtains on the other hand, may need to be opened fully.
Typically, we’ll use 1–3 rooms max. Common favorites:
Living room
Kitchen (for playful, candid moments)
Child’s bedroom / Nursery
Primary bedroom
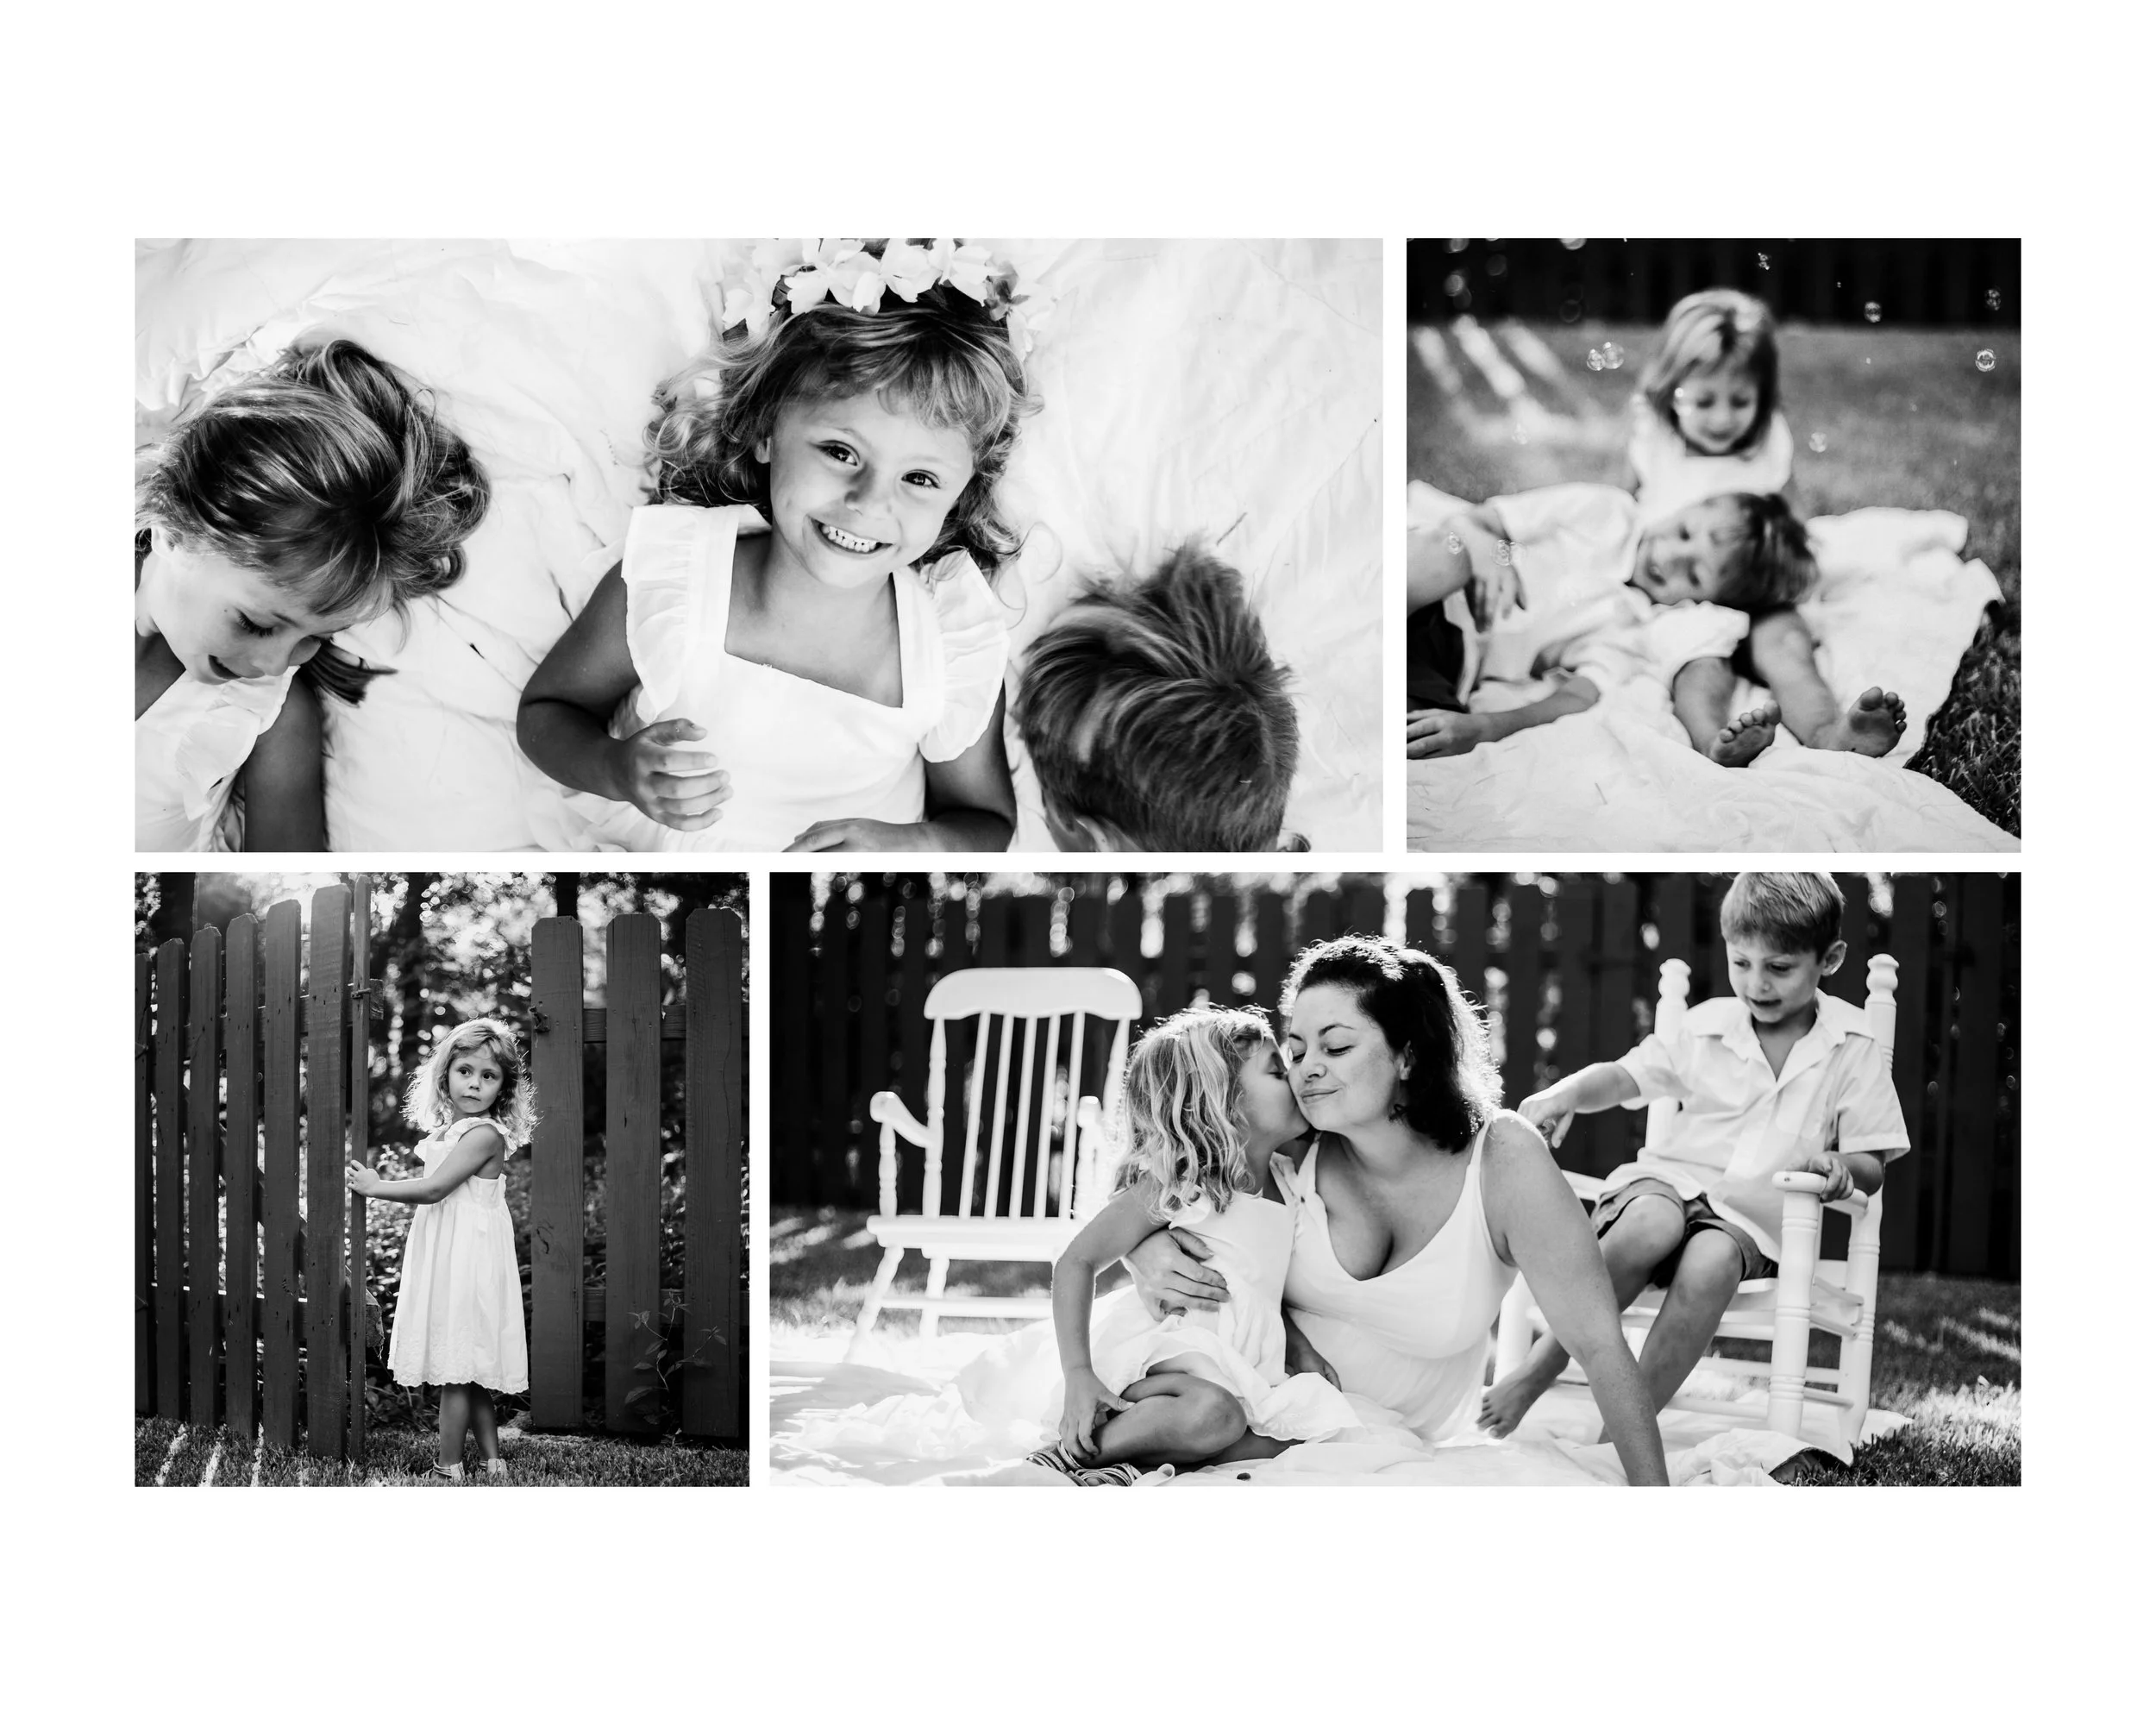
Back/Front yard
When I arrive, we’ll do a quick light walkthrough together so I can visualize the light in the spaces we’ll be in.
Curating the Space (Setting the Tone)
The magic of in-home sessions is how they feel.
A few small details can completely elevate the experience:
✧ Have water and easy snacks available (especially for little ones).
✧ Put on a favorite playlist at low volume – something that feels like you or everyone enjoys.
✧ Adjust the temperature slightly warmer than usual (especially for babies and toddlers – cozy kids = relaxed kids).
✧ Open blinds and curtains before I arrive to let light fill the room.
✧ Make beds neatly but naturally – don’t feel as though every crease and wrinkle needs to be smoothed out! A little bit of texture is just fine.
This isn’t about staging. It’s about intention.
When the environment feels good, everything else flows.
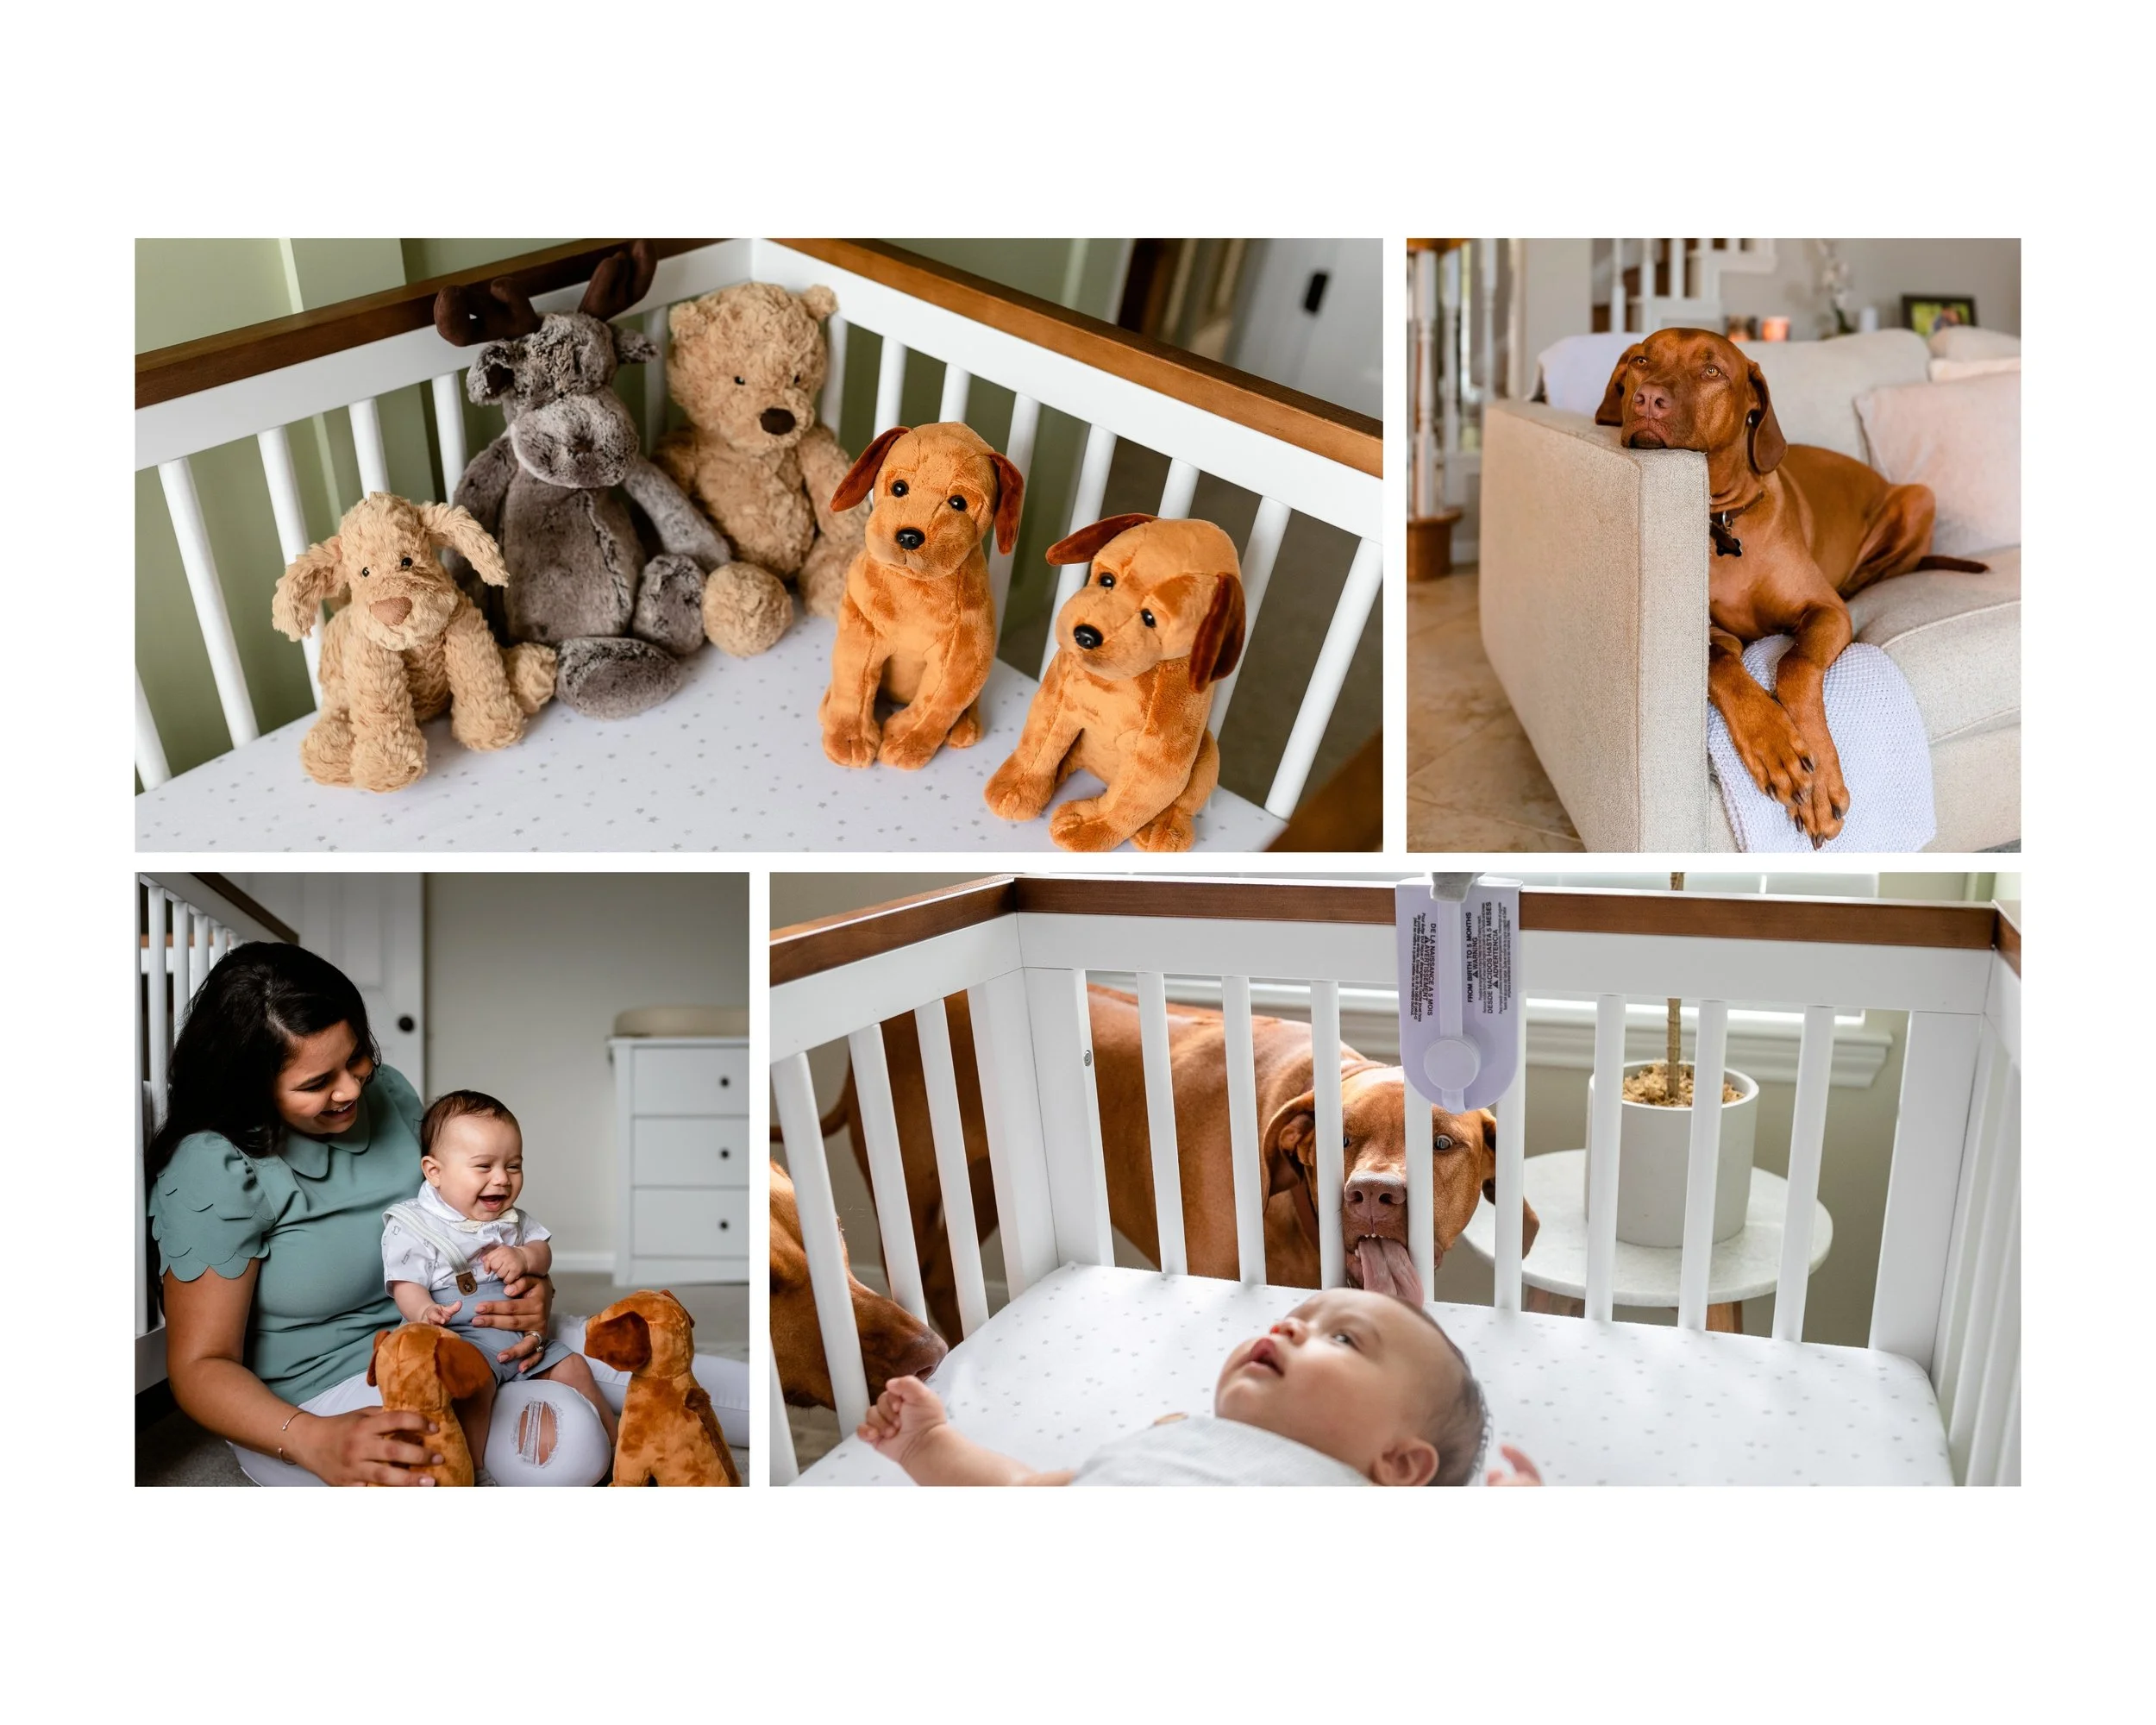
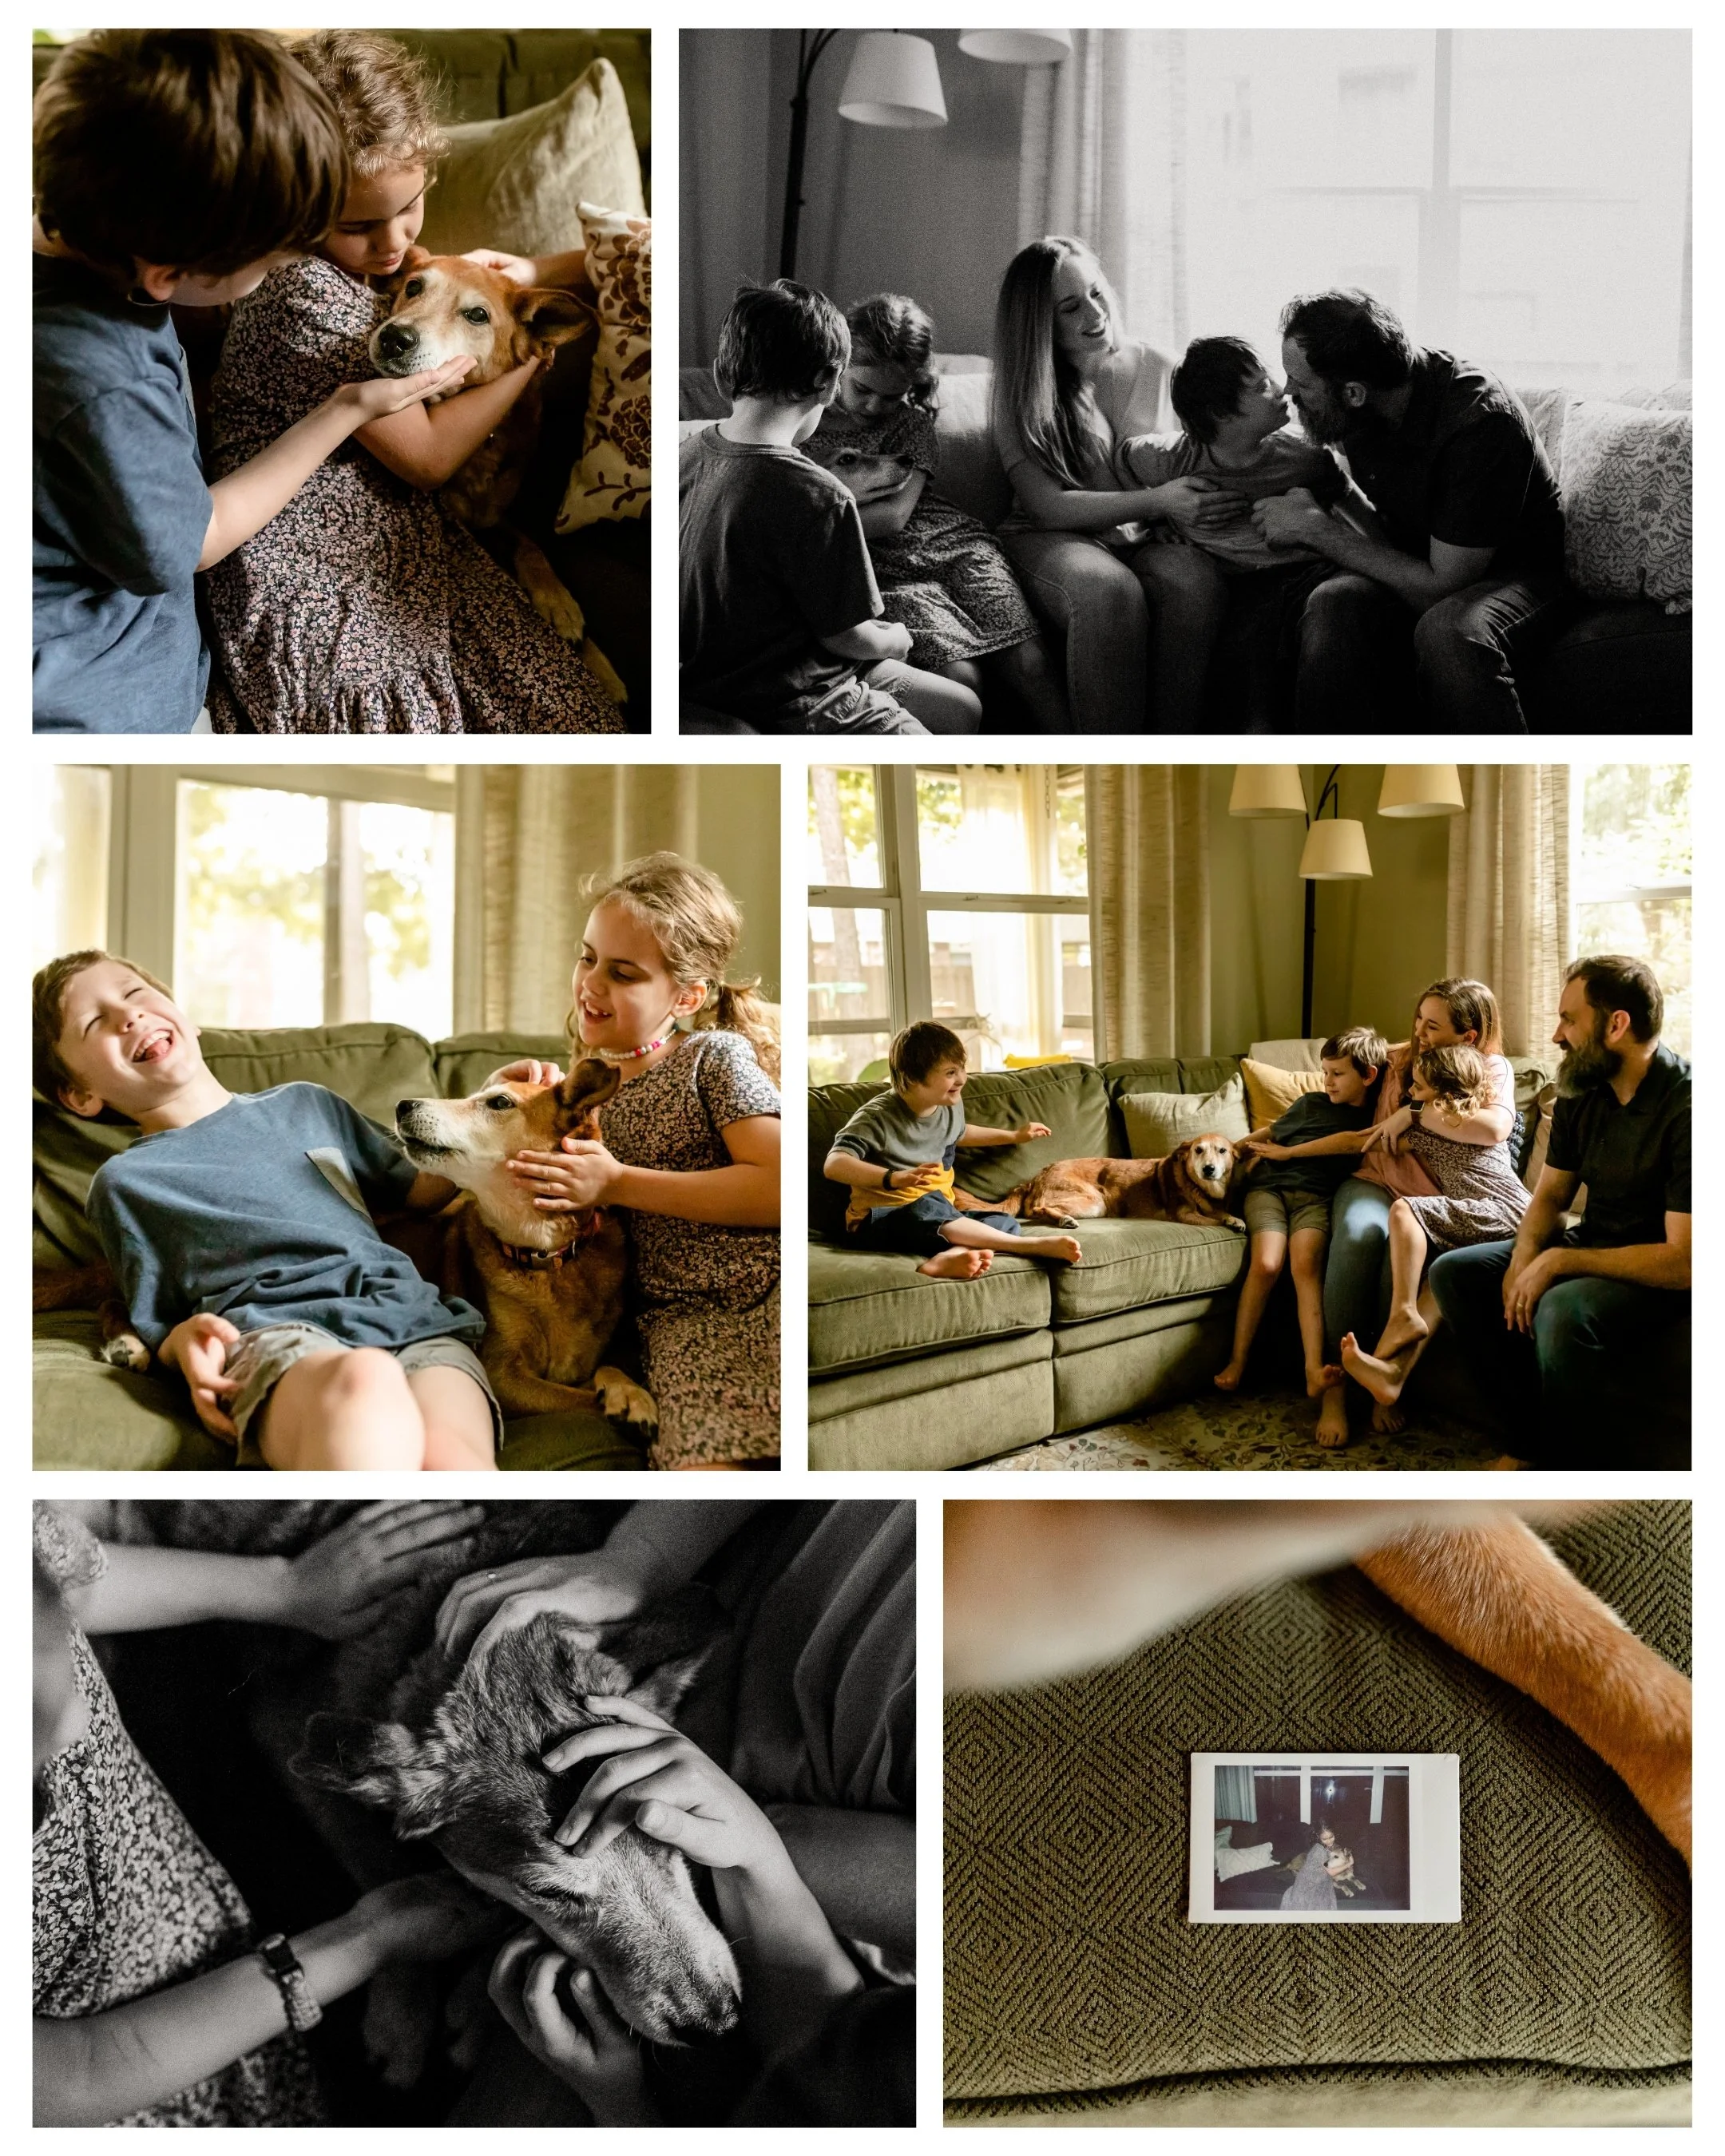
Pets in In-Home Sessions
Incorporating your pets during your session is a highlight for this session type. Dogs love being in their own space (I also love witnessing dogs in their own space), and this is also a wonderful opportunity to include pets that may not be able to travel to outdoor locations!
They are a part of our families and a vital part of our stories, too.
Here are a few tips for setting them up for success:
✧ Make sure dogs get in a potty break before we start.
✧ Have treats nearby but out of sight (bonus points if they’re high-value! a.k.a. something they love but maybe not get as often)
✧ Keep favorite toys accessible if they help engagement.
✧ Remove overly distracting chew toys or clutter from main areas.
For more anxious pets, we’ll move slowly and allow them to warm up naturally. There is never any rush and nothing is ever forced. Some of the most beautiful moments happen when we let them exist as they are.
For the high energy pets, mental stimulation/enrichment prior to the session does wonders to pleasantly wear them out. I don’t recommend doing any sort of exercise that results in your pet being completely exhausted. We just want them content!
What the Session Actually Looks Like
Things might look a little different from one family or couple to the next, but I’ll walk you through how things typically unfold.
Arrival + Walkthrough (0–15 minutes)
I arrive, met the kiddos and/or pets, and do a quick tour of the spaces we’ll be using. We’ll assess light, move a chair or two if needed, and finalize which rooms we’ll use.
Anchor Moments & Variety Shots (15-40 minutes)
We’ll move into our main space (typically the living room, kitchen, or primary bedroom). I’ll guide with simple prompts or suggestions that inspire movement and connection – all you have to do is lean into the moment and make it your own!
We’ll rotate rooms for fresh environments and backdrops: bedroom details, a quick kiss in the hallway, things captured candidly along the way. Nothing is stiff or forced and you’ll never be left wondering what to do.
Gentle Wrap Up / Grand Finale (40-60 minutes)
Some folks will finish with a calm ritual, others might save an activity (making a meal, baking a treat, etc.) for the end. This is the time we’ll do those things and for me to get some final detail shots (tiny hands, paws, legs intertwined).
Layered Storytelling
We’ll capture:
Wide, environmental frames
Mid-range connection
Intimate, close-up details (hands, lashes, fur, fabric)
There’s space for stillness, there’s space for play, and there’s space for chaos. Because that’s real life.
In-home sessions tend to feel slower, softer, more immersive. And that’s intentional.
A Few Extra Pro Tips
✧ Turn off overhead lights – natural light photographs best.
✧ Neutral bedding and simple textures photograph beautifully.
✧ If you’re unsure about wardrobe, softer tones and natural fabrics complement indoor light best.
✧ Plan for unhurried time before the session, rushing shows up in photos.
And most importantly:
You do not need a magazine-worthy home.
This is the space that holds your life, stories, and memories. And that is more than enough.
Let’s Talk About Timing
Morning vs. Afternoon In-Home Sessions
Light behaves very differently indoors than it does outdoors, and this is where things get interesting.
You know how outdoors we avoid scheduling sessions when the sun is high in the sky because of harsh shadows and bright overhead light?
Inside your home, that’s actually our sweet spot.
When the sun is higher, it pours horizontally through your windows instead of casting directly down onto you. That stronger daylight gives us brighter rooms, cleaner tones, and that soft, dimensional glow that makes in-home images feel alive.
Late Morning to Early Afternoon – 10 a.m. - 1 p.m. (The Ideal Window)
This is typically the most consistent and forgiving light for in-home sessions.
✧ Rooms feel brighter and more open
✧ We can use multiple areas of the home
✧ Shadows are softer and more directional
If your home doesn’t get a ton of natural light, this timeframe is especially helpful.
Early to Mid-Morning 9 a.m. - 11 a.m. (Perfect for Indoor + Yard Moments)
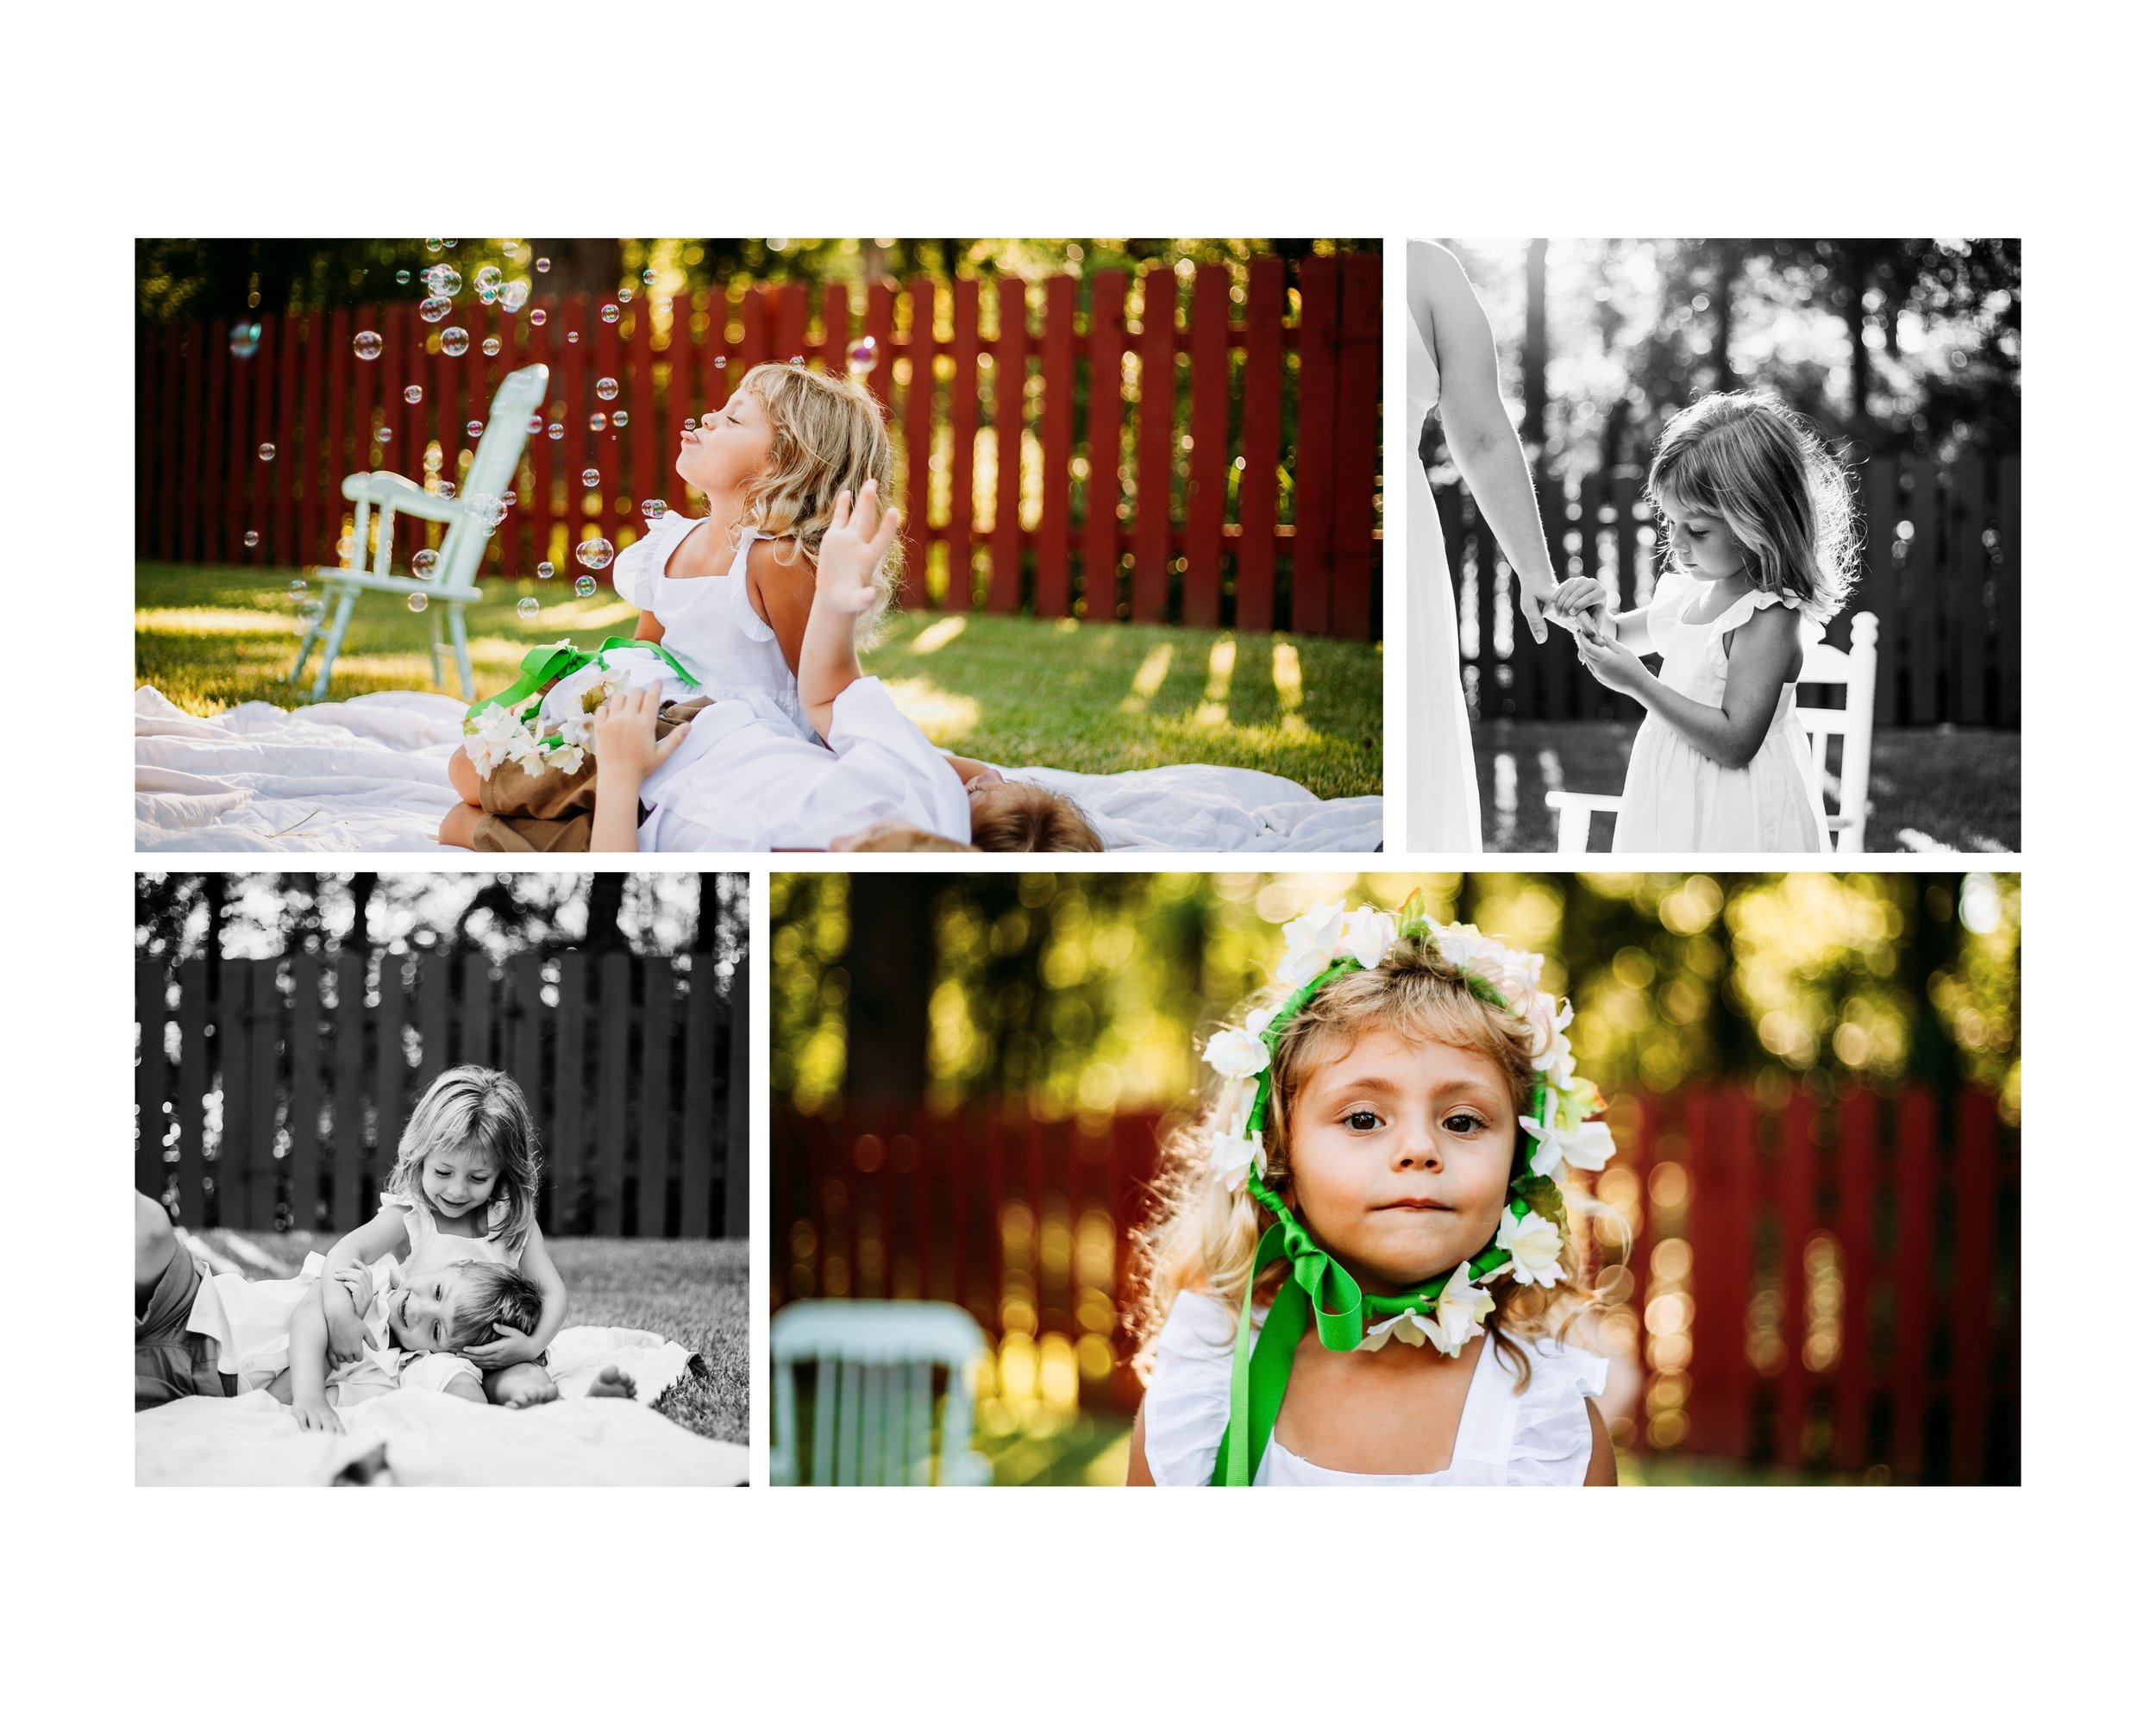
If you’re dreaming of starting inside and then stepping into the yard for a few frames, or the other way around, an earlier start time works beautifully.
Morning outdoor light is gentler and less intense, making it ideal for:
✧ Porch coffee rituals
✧ Watering plants
✧ Kids + dogs playing outside before the day gets too hot
We can ease into the session outdoors and then transition inside as the sun rises higher and fills your windows.
Early to Mid-Afternoon – 1 p.m. - 3 p.m. (Especially During Longer Daylight Months)
During seasons when the sun sets later – especially after daylight savings – early to mid-afternoon sessions work beautifully.
Your home stays bright longer, giving us:
✧ Strong, consistent window light
✧ A relaxed pace without racing sunset
✧ Enough daylight to move between rooms comfortably
The key thing to remember:
For in-home sessions, we aren’t chasing golden hour. We’re chasing window light.
And I’ll always guide you toward the start time that best supports your specific home’s orientation and lighting conditions.
Why In-Home Sessions Matter
In-home sessions are some of my favorite types of sessions to capture. While my outdoor work is fruitful beyond words, there’s something about the intimacy that comes from clients being in their own home that is completely unmatched.
Documenting your life inside the space where it unfolds is an investment in memory – in the ordinary becoming sacred.
My job is to guide, to see, and to hold that space for you with intention and care.
We’ll create something honest, something grounded, and something that feels like home.
“But My Home Is Small…” (A Little Reassurance)
Let me (lovingly) stop you right there.
Some of my favorite in-home sessions have taken place in small apartments, townhomes, (and I’m dying to do a session that’s in a home mid-renovation!)
Square footage or a certain look does not determine beauty.
Light, connection, and intention do.
Smaller spaces often photograph more intimately. We work closer to windows. We lean into tight, cozy frames. We use doorways, hallways, and corners in creative ways that feel layered and cinematic.
And here’s something most people don’t realize:
The camera only sees what I frame.
If there’s a pile of laundry outside the shot, it doesn’t exist in your gallery.
You do not need vaulted ceilings or a magazine spread. You need a window and each other. I’ll handle the rest.
In-Home Session FAQs
What if my house isn’t “photo ready”?
You don’t need perfection, you need intention. A quick tidy of surfaces and floors goes a long way. I’ll guide minor adjustments when I arrive (moving a chair, clearing a corner). You are not expected to stage your home.
What if my kids don’t cooperate?
They don’t have to. Seriously!
In-home sessions are designed to work with their energy, not against it. We take breaks. We pivot. We follow curiosity. If you’re worrying about how your kids will cooperate, they’ll pick up on it. And that shows in photos more than people realize.
My advice? Take a breath, go in with zero expectations, and let everything fall into place.
What if my dog is anxious or high-energy?
Anxious? Absolutely okay. High-energy? Bring it on. ;)
We’ll start slow. I may ignore them at first to build comfort and keep excitement low. We will move at their pace, get acquainted with each other, and then gently guide engagement when they’re ready. A smell-focused walk beforehand can help keep them content, but personality is always welcome.
Do we use flash or artificial lighting?
Never flash. Not really my jam. I use natural light to preserve the softness and authenticity of your space. All of my in-home sessions rely entirely on your windows which is why timing is super important.
What should we wear?
Comfort is key! As a baseline: if you’d be uncomfortable sitting down / moving around in it, don’t even consider it. Earthy tones, soft textures, and breathable fabrics photograph beautifully indoors. But don’t be afraid of color! Take a look around your space and see if you can notice colors that appear frequently. Pick out 2-3 and build your wardrobe around those. Always avoid neon colors, heavy patterns, or logos.
If you’re unsure, I’d love to help with styling! You can reach out to me directly and we’ll work on it together.
How long does an in-home session last?
Typically 60–90 minutes. This allows us to move at a relaxed pace, transition between rooms, and leave space for real-life moments to unfold naturally.
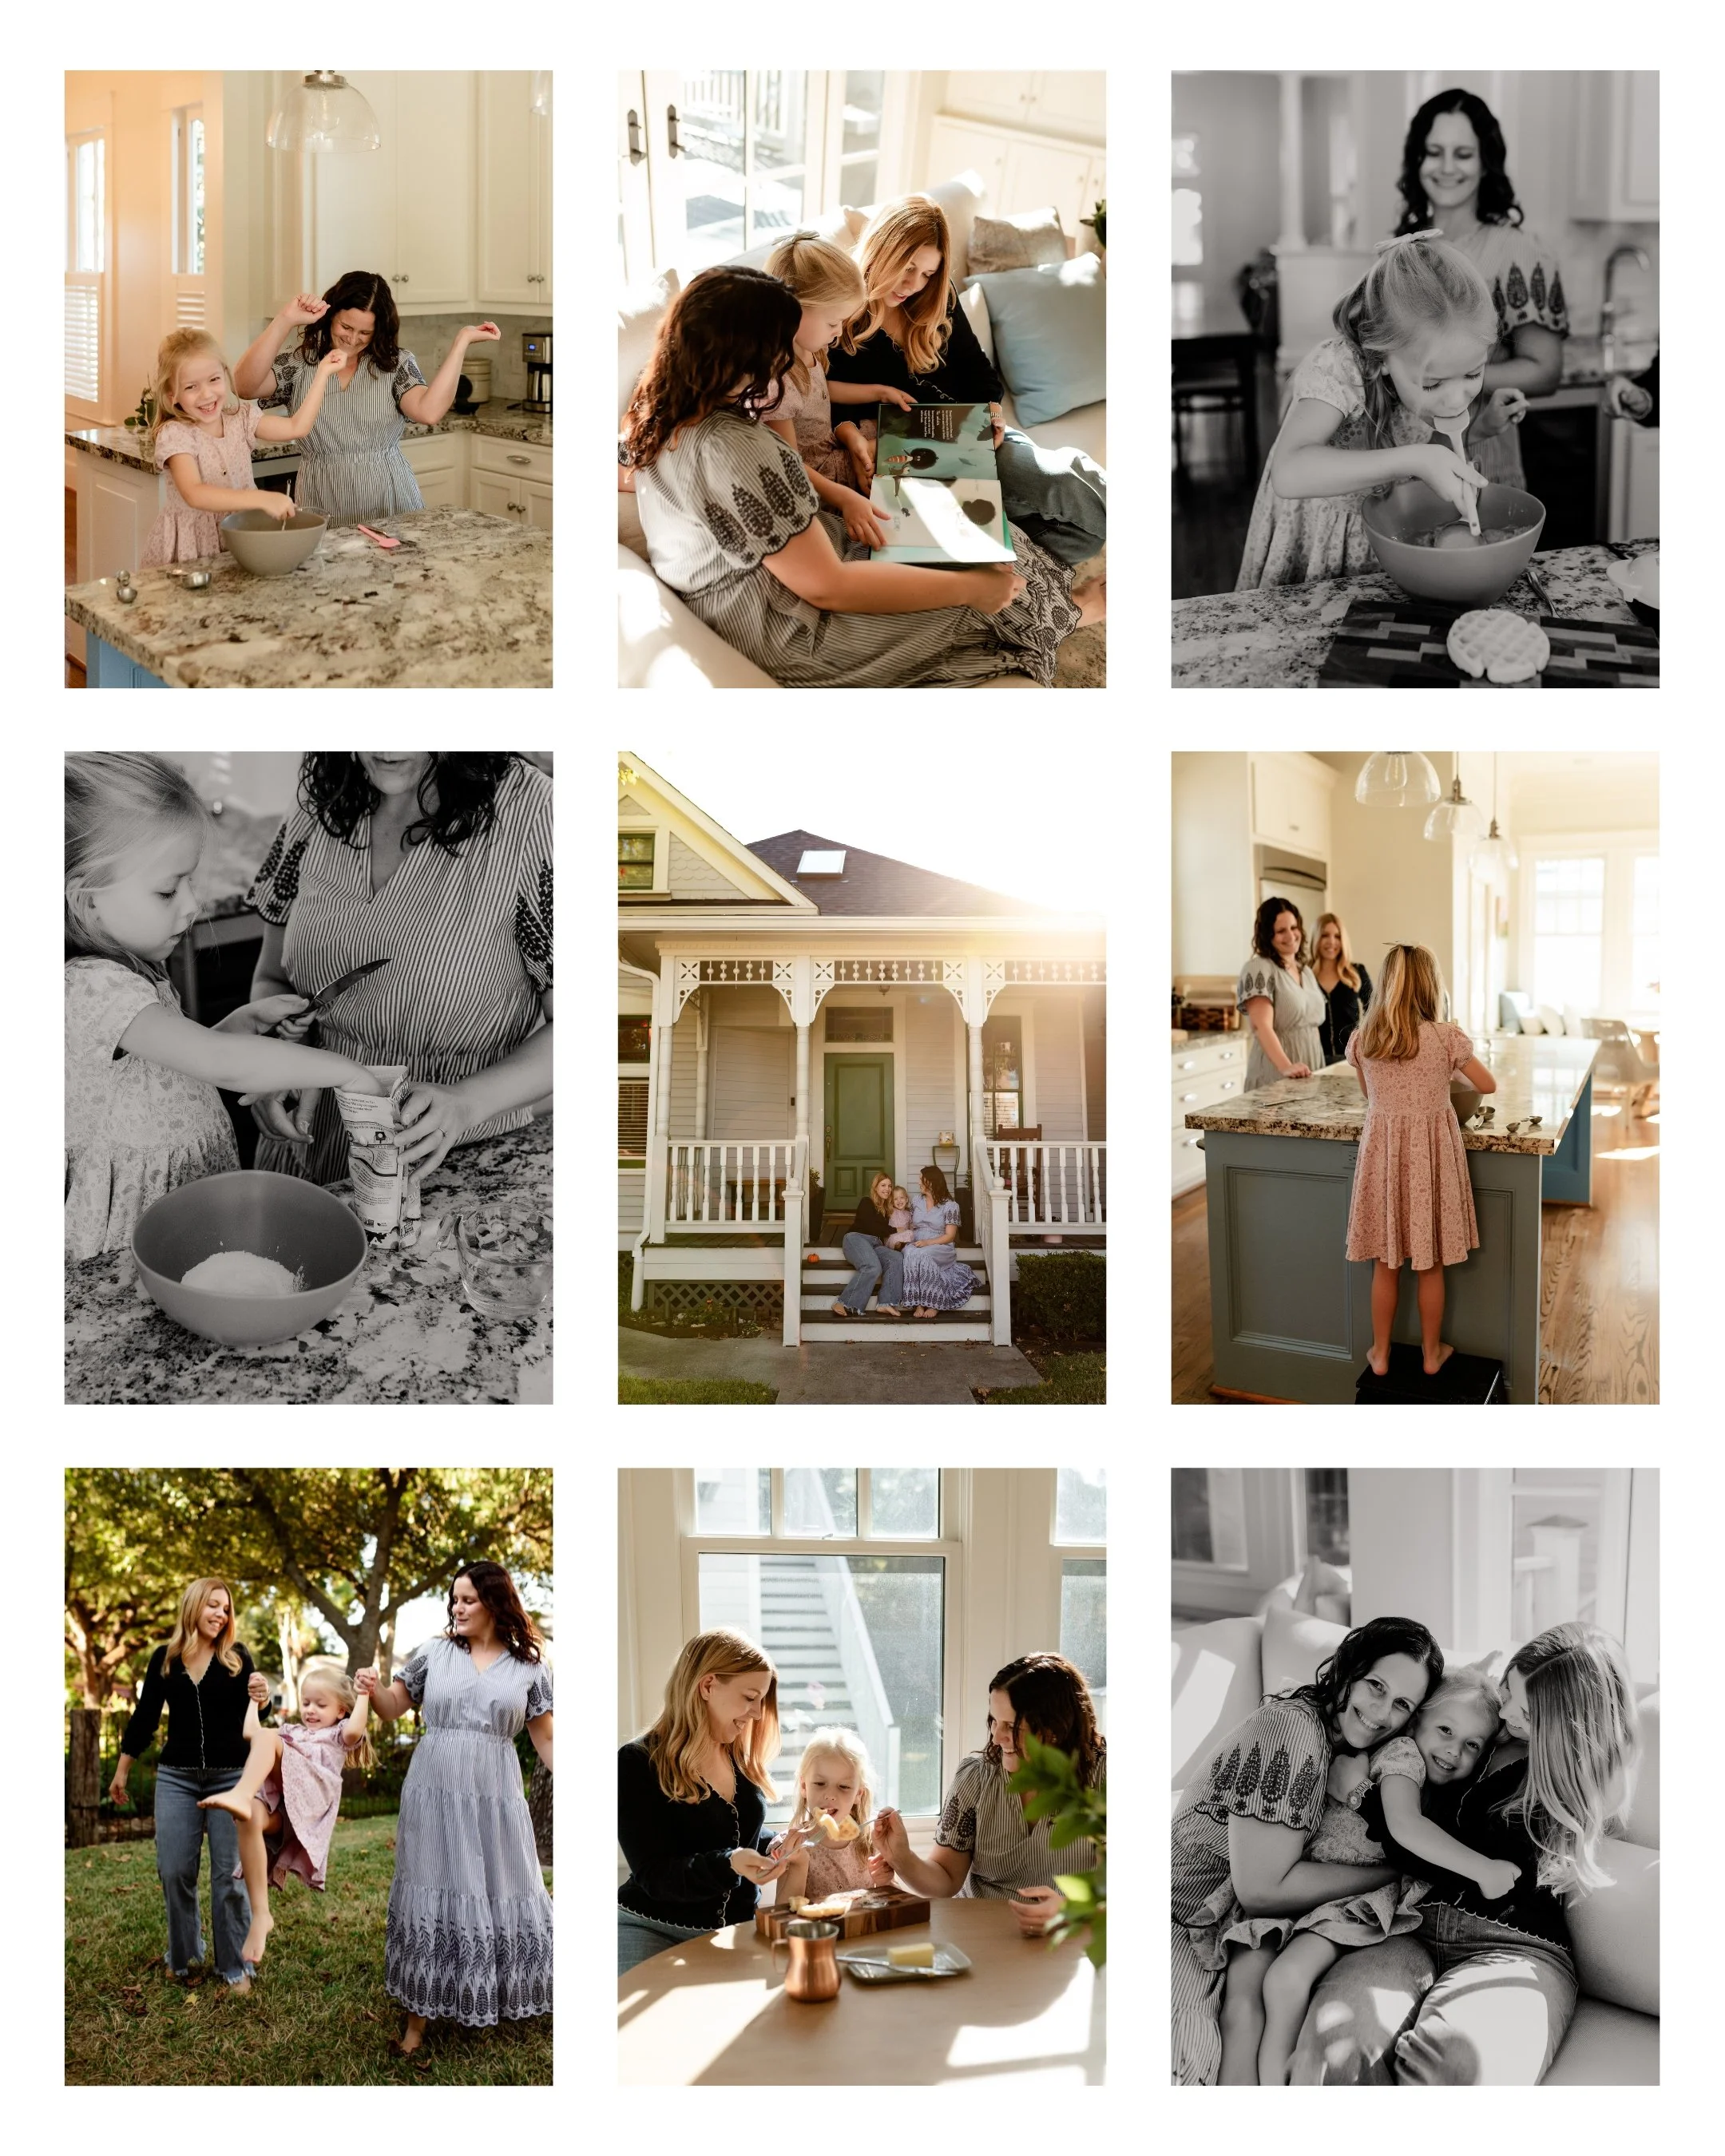
Can we incorporate meaningful activities?
Absolutely! In fact, I encourage it. Making breakfast or a favorite treat. Reading a favorite book. Watering plants. Dancing in the kitchen. Morning coffee rituals. These are the details that elevate your gallery from “photos” to legacy.
Have a question that isn’t answered here? Shoot me an email and I’d be happy to answer them for you!